

How to hide rows in a SharePoint?
You can hide and even set a unique permission for each row in a list, also you can control who sees which rows in SharePoint. This functionality is PMO project dashboard, where you can project all your projects and you can hide few rows from the list. You can also limit user access in a list by utilize item-level permissions and improves SharePoint List Row Level Security. But the drawback of this feature is, you cannot set permissions for a specified row for a specified user. Purchase Microsoft SharePoint from Veelead Solutions
There are different methods in hiding the rows, such as modern custom list or classical list like Tasks, Contacts, etc., but the steps might vary between modern custom lists and other lists. You can follow the instructions below.
Hiding rows in a SharePoint Modern Custom List
This method is like, how you set an exclusive access for a document or folder in a document library, but you need to stop security inheritance between row and the list.
1.Move to SharePoint custom list with data
2. Select the checkbox near to an item you want to set exclusive permissions for


3. Now select “i” Panel on the right side. Below you will find who currently has access to the item. Select Change permissions


4. Now you can click on each user/group and then Stop Sharing for each user or select Stop sharing on top of the panel. You can modify to View only in case you want a specified user to be able to edit an item


5. If you want Stop sharing for everyone above, you will see a warning message.


6. You can add specific users and even users who do not have access to the site and give them permission to edit or view a single item/row from the whole list

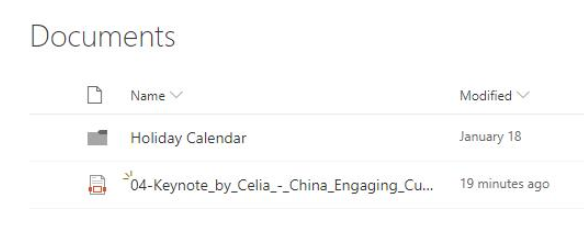
7. Once these steps are followed, your list will look different depending on who is logged in.
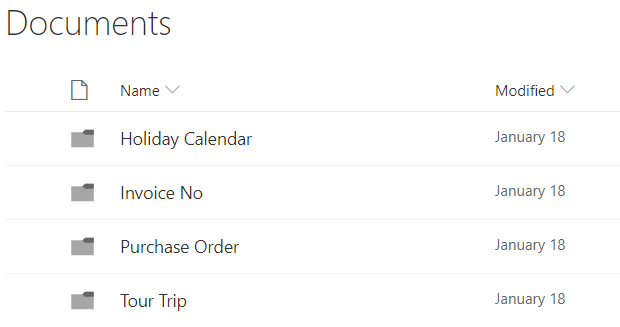

8. and below is the same list with three rows hidden as I am logged in as another user.

Hiding rows in classic SharePoint lists
As mentioned in the introduction, while hiding rows in classic lists you should stop the inheritance for rows. One important factor is, classic lists do not have “i” information panel on the right side as it is in modern custom lists.
1. Select the checkbox near the task you want to hide or set exclusive permission. Then click on ellipsis, ellipsis again, then Share
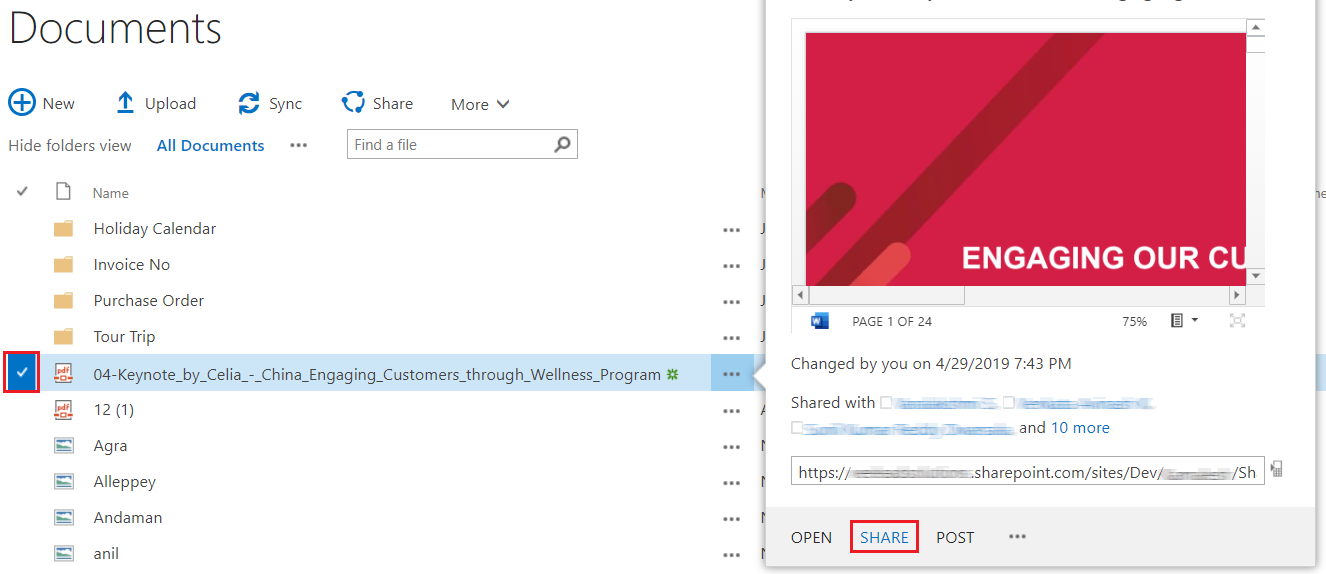

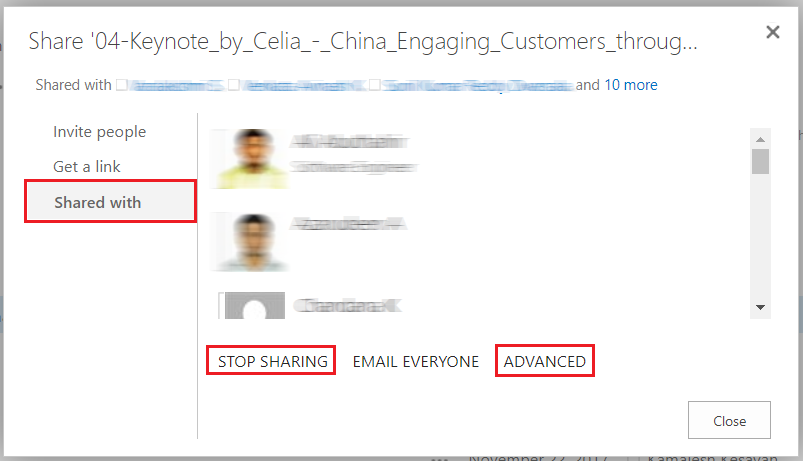
2. Select Shared with. This allows you to be notified who the task is shared with.
3. You can also either Stop Sharing to everyone or Select Advanced to set exclusive permissions

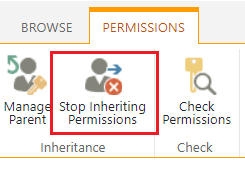
4. Once Advanced is clicked, a screen pops up. This looks very similar to how you would be setting up security for a website. You can now Stop Inheriting Permissions.

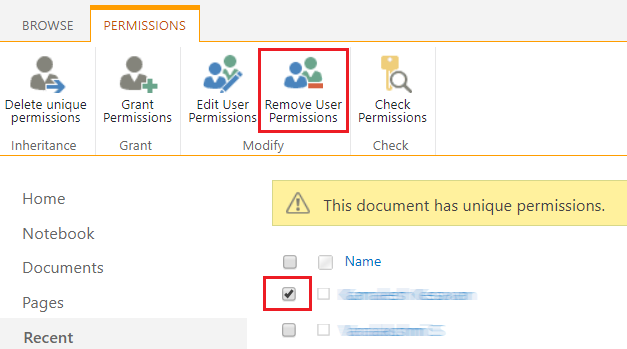
5. Add/remove groups/users as necessary

Get 24/7 SharePoint Support and Guide from experts. Talk to us for SharePoint Implementation experts today


