

An effective way to measure how your next product or service should be released purely depends on understanding your customers, this is the key to success for many businesses. When it involves surveys, there are many great solutions available, some are for free of cost and some are not. Office 365 business essentials users will be aware of Microsoft Forms in the Office 365 application, which is a survey solution that is accessible through an Office 365 subscription.
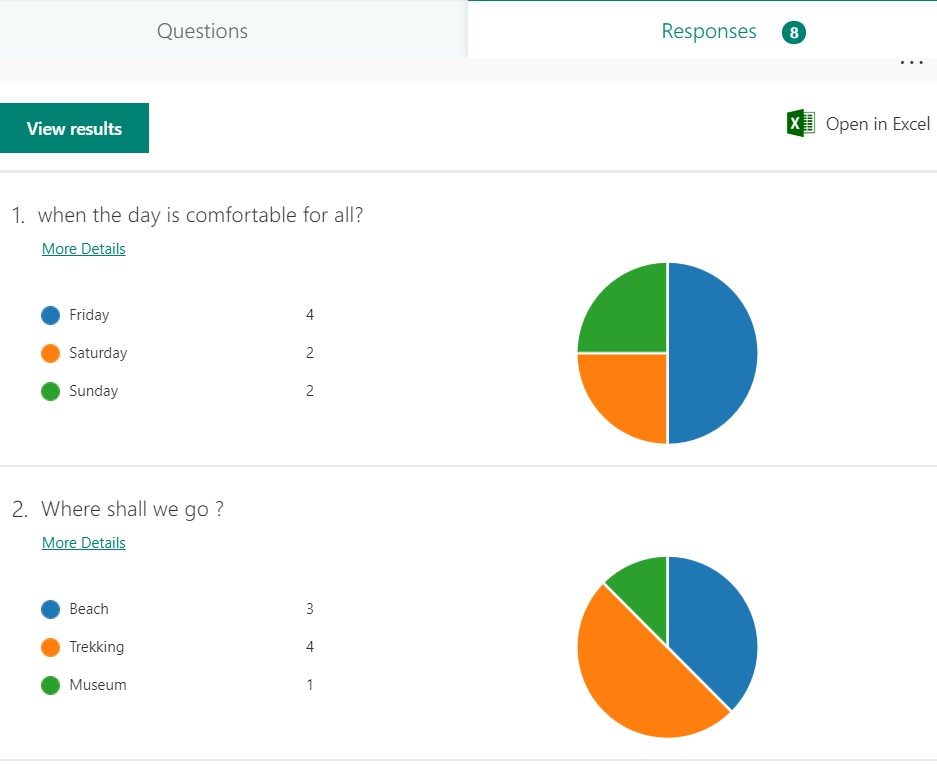
The usage of Microsoft Forms for companies is to host surveys and quizzes to have a better understanding between the clients and viewers by getting feedback about their products and services. The major advantage of using Microsoft Forms is that it has built-in analytics tools that helps you in guiding through evaluating the responses you received. In addition to it, Microsoft Forms can be accessed from modern browsers and smartphones
How to create Microsoft Forms in Office 365?
Step 1: Open your web browser on your system, and visit forms.microsoft.com. This is the place to create your own form.
Step 2: Now, you`ll be asked to sign into your Office 365 business account.
Step 3: Here, you will find an icon called ‘My Forms’. Click on ‘New Form’ to start working on forms.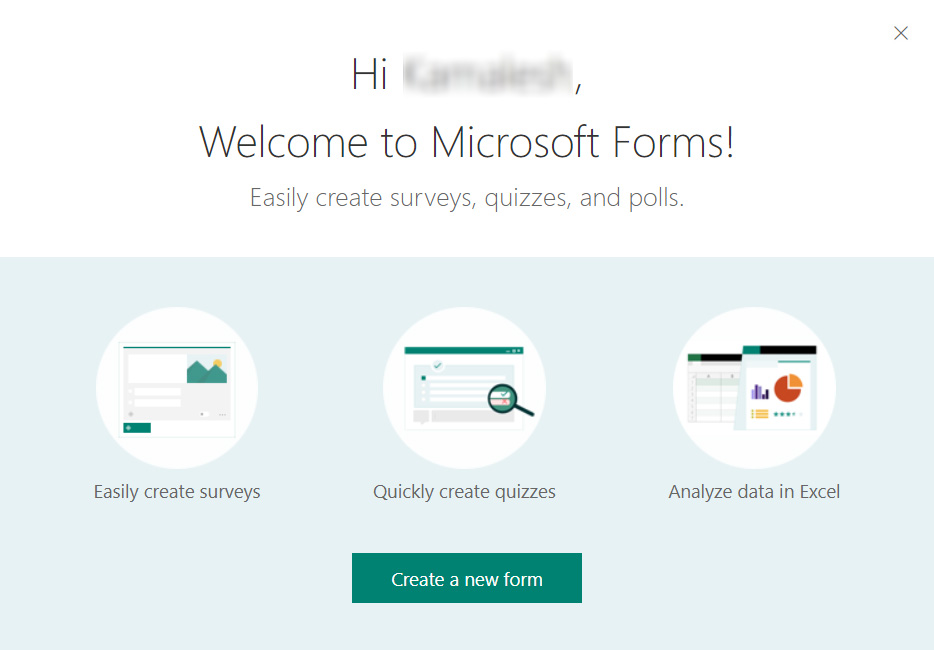

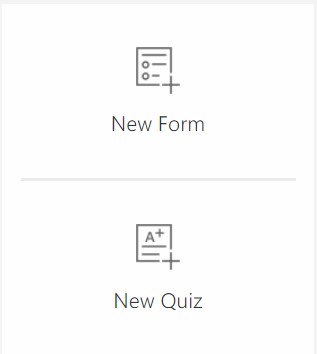

Step 4: Name the form and fill out the required details. There is an optional description (subtitle) field which makes it easier for your targeted audience to understand what the form is about. The character limit is 90 for the form name and 1000 for the description.


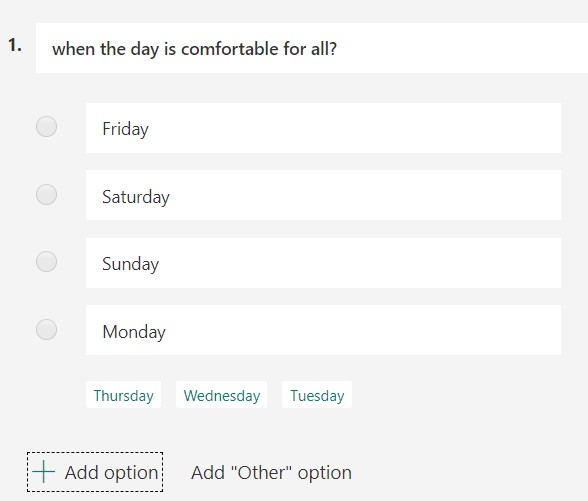
Step 5: Next would be adding a question to your form. Click on the ‘Add Question’ button to begin. There are three options to choose the question formats, a written response, a rating/poll, and a date-based question.


Options: This is used as a straightforward multiple-choice format. As you type your question, the app will automatically prompt related options to help you in building your form.

- Text: You have to specify your question, and the user will submit a written response in the provided text box.
- Rating: This allows users to rate your question on a custom scale.
- Date: Answers are restricted to a date format.
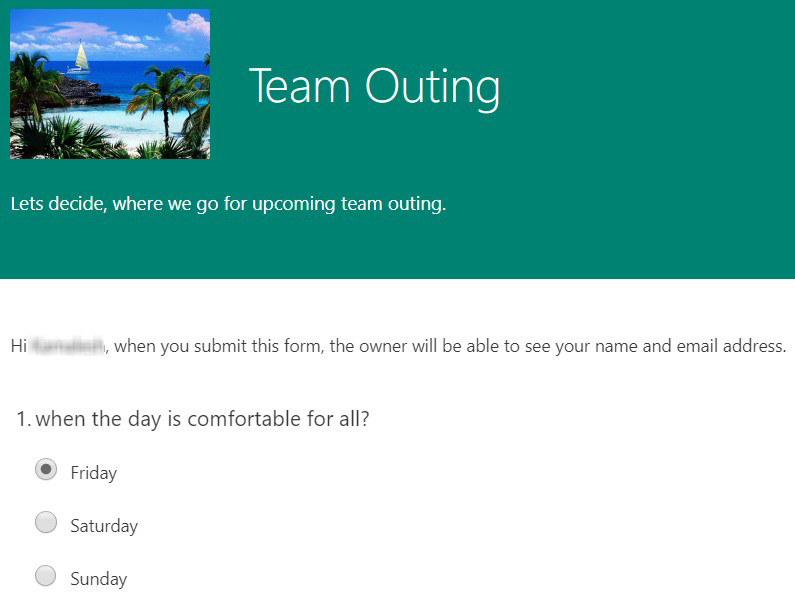
Step 6: Next, preview the form to judge how it looks from a visitor’s angle and to test its performance. To begin, click the Preview icon at the top of the design window.
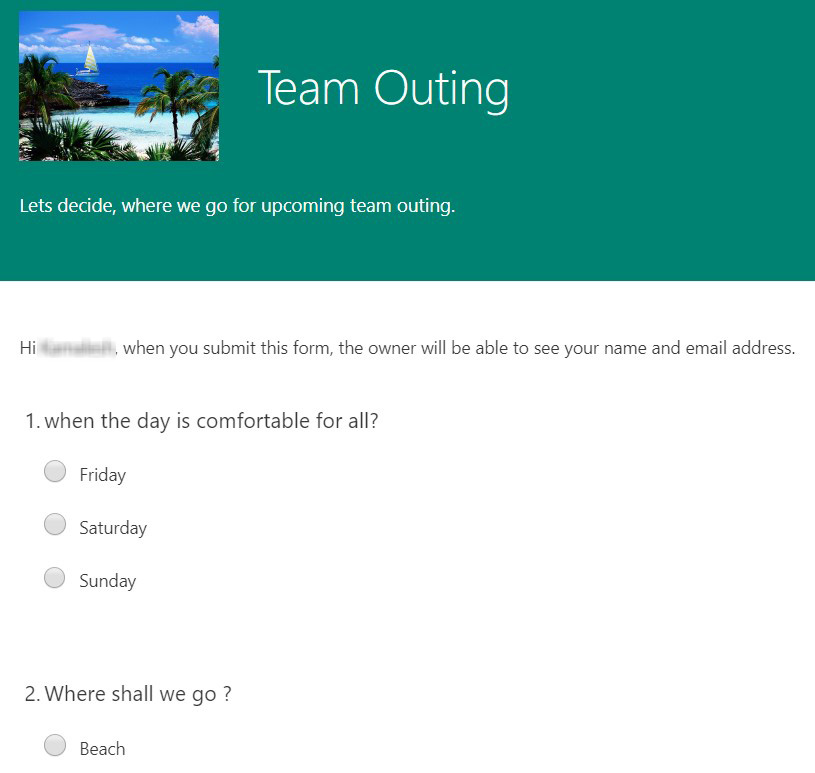

Step 7: Accessibility is one of the most important standards for any web page in recent times. Your form needs to be readable on computer or laptop screens as well as on mobile devices so users will have a variety of options. To check how your form looks like on a mobile device, select ‘Mobile’ in the top-right corner of the testing screen.
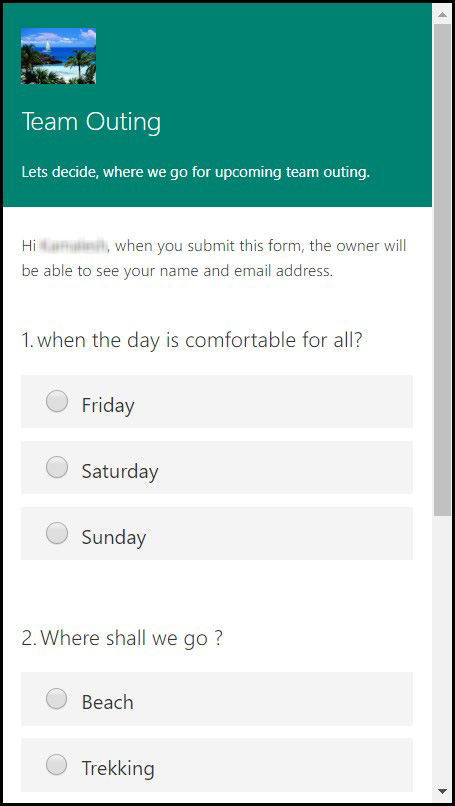

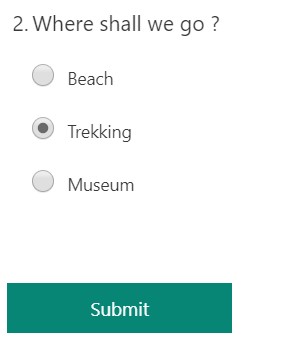
Step 8: Once you’ve tested your form and ensured that it’s working perfectly, you can go ahead and submit. Post which you can share the form with others and invite viewers to submit their responses.
Microsoft Form Features
Some of the features of Microsoft Forms make it the ideal polling platform.


Response Numbers
You will get a total of 5000 replies for each Microsoft Form in office 365 that is posted online, and you might even get more by exporting polling data to a spreadsheet to free up space

Connect with People
Can people without Office 365 business account participate in your questionnaire? Yes! People without Office 365 business essential can participate, however, their answers will be anonymous unless if a question asking for their names is inserted.
User-friendly
User-friendly interface and ease of navigation are the major reasons why Microsoft Forms are popular.
Customization
You can always customize your forms to make them more attractive. You can change the theme and you can block all access to the internet to keep the answers confidential and improve security.
Form Sharing
You can always connect with people through Microsoft Form which can be embedded or linked in any web page, inserted in OneNote online, and this will attract users from a variety of sources and allows you to target more people.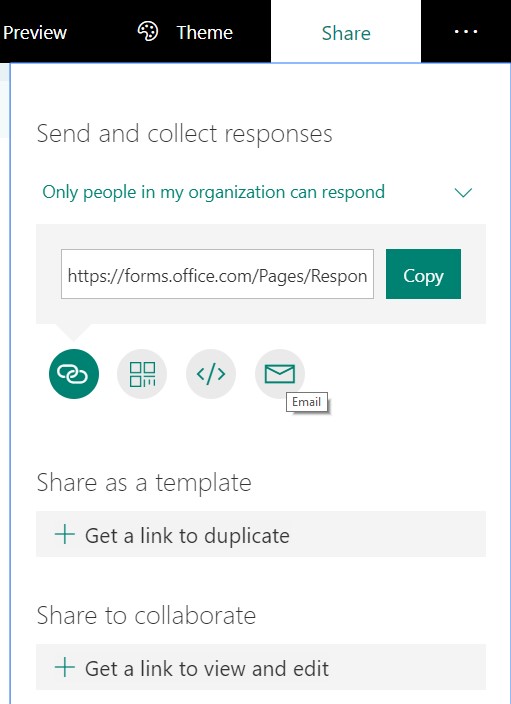

Also Check the Previous Post: What are the ways to create workflows in SharePoint?


